You drop into Coco and it's manageable. Big group, plenty of draft, easy enough to stay. Then you try Yumi. Smaller group, nowhere to recover, and 20 minutes in you're watching the gap open. So you go back to Coco. Which is fine. Mostly. You've been dropped there too, when your head wandered for a minute.
That's the in-between spot. One feels almost too comfortable, the other feels like a different sport. Neither of those impressions is quite right.
Why the gap feels bigger than 0.3 W/kg
On paper Coco and Yumi are close — 2.6 vs. 2.9 W/kg, one of the smaller steps in the lineup. But 0.3 W/kg doesn't tell you much on its own.
For an 80 kg rider, that's 208W vs 232W. Twenty-four watts. Sustained. Not trivial.
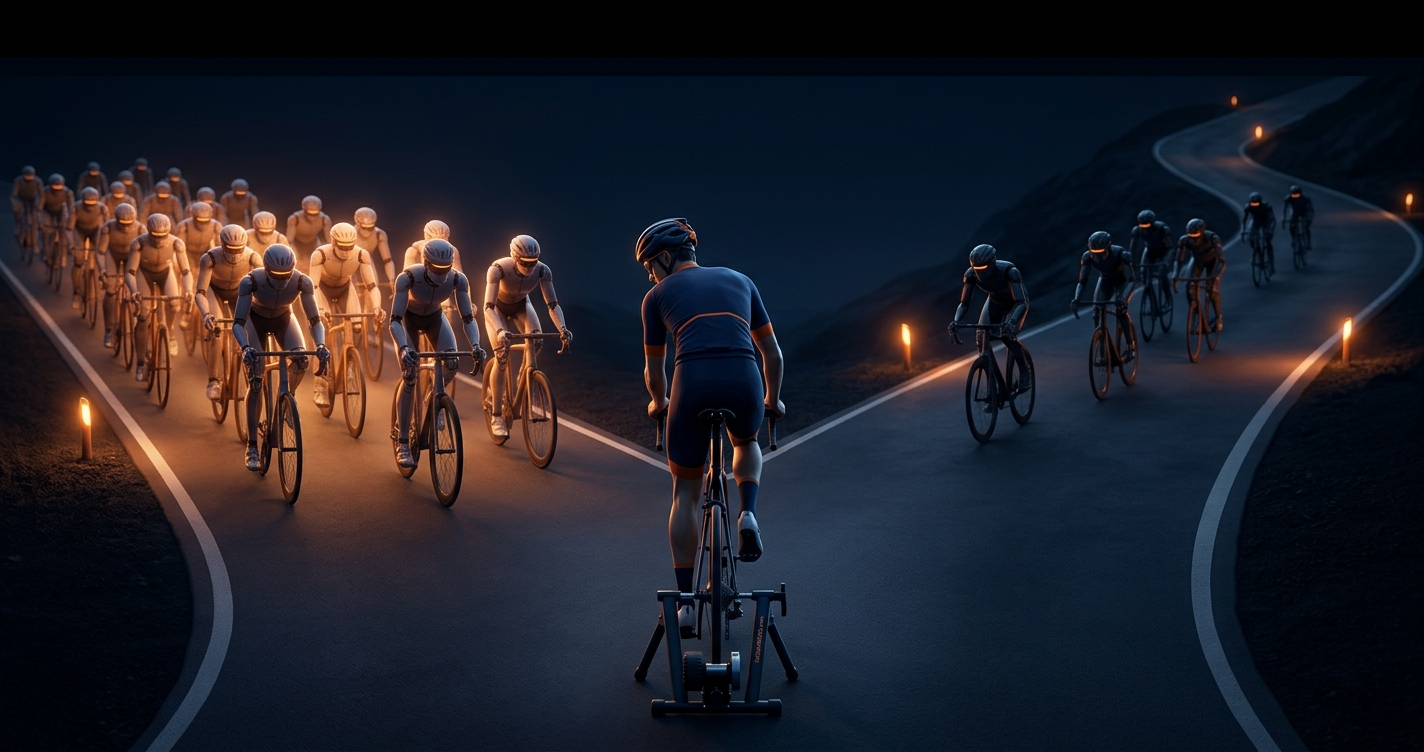
Then the group effect kicks in. Coco runs one of the biggest packs on Zwift. The draft is real, the bunch absorbs the surges, and when you're struggling there's always a wheel to follow. Yumi's group is much smaller. Less draft, less shelter, less room for a quiet moment. Drift off the back and you're suddenly solo at a pace that wasn't designed for solo riding.
Hills widen the gap further. In a big bunch, momentum carries you through. In a small group, the gradient is just the gradient.
Find your exact watt targets
Enter your weight and see what Coco, Yumi, and every other RoboPacer actually requires from you — side by side.
⚡ Open the CalculatorCoco is still working you
If you've been dropped at Coco when your focus slipped, that tells you something. Coco isn't as easy as it feels. The draft is doing some of the work. Lose a wheel, let your attention go, and you're suddenly riding into wind at a pace that needs your full effort to hold.
That's not failure. That's training. You're getting fitter at Coco, even on the comfortable days.
What to do about it
Just riding more Yumi sessions probably won't move the needle on its own. There's better work available while you're in between.
Stop hiding at the back of Coco's group
The back of a big peloton is the easiest place on Zwift. If that's where you always end up, you're not working as hard as you could be. Push into the middle of the bunch, or occasionally toward the front. The draft drops off, the demand goes up, and you build fitness without going anywhere near Yumi.
Know your actual watt numbers
The IndoorWatts calculator shows you exactly what Coco and Yumi require at your weight. Seeing real watts rather than W/kg makes the gap concrete. Twenty-odd watts is a number you can train toward.
Dip into Yumi, don't live there
You don't have to survive a full Yumi session to get something from it. Jump up, push hard for 10 to 15 minutes, then drop back to Coco to recover. Time spent above your current ceiling does more than grinding the lower pacer at the same pace every week.
Try Yumi on a hilly route
Zwift's pacers adjust their power dynamically — more on climbs, less on descents. On a hillier route, the groups compress on the ascents and you get more chances to hang on. If your Yumi attempts have all been on flat routes, a hillier one is worth trying — it can feel surprisingly different.
When Coco drops you, pay attention
Every lapse-of-concentration gap at Coco tells you something useful. Your aerobic base is solid enough to sit in the bunch. What you're still building is the ability to hold effort when you're not fully locked in — and that carries over directly to Yumi, where there's no big pack to bail you out.
The gap is the work
Riders don't move up by waiting for the lower pacer to feel effortless. That day doesn't come. They move up by making Coco harder for themselves — riding less sheltered, staying more engaged, borrowing time from Yumi when they can — until the gap has closed without them quite noticing.
If Coco mostly holds you but occasionally drops you, and Yumi hurts but you can survive 20 minutes, you're in the right place. Just not the comfortable one.